


How To Install Joomla

Download Joomla
1. Visit the official Joomla website at https://downloads.joomla.org/
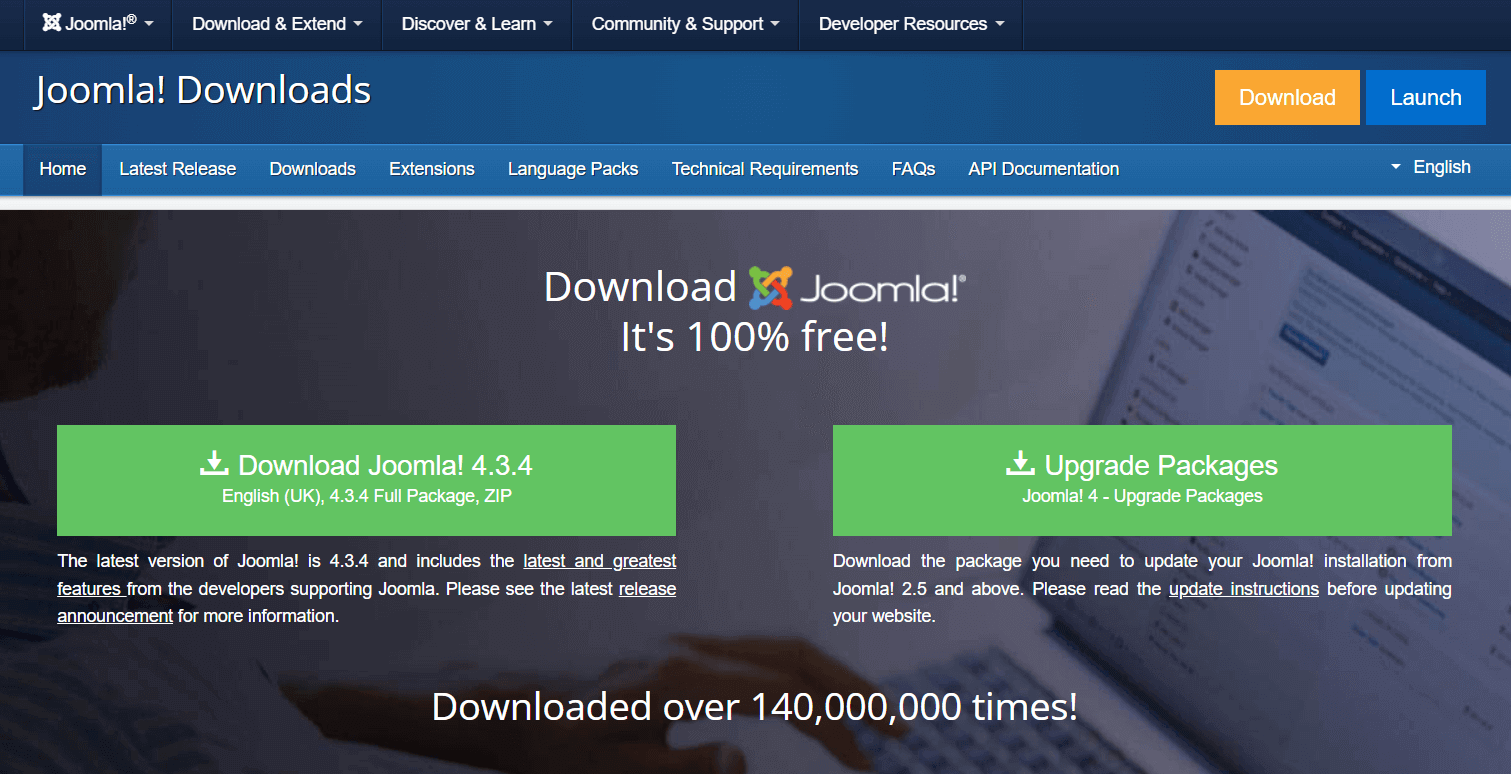
2. Download the latest stable release of Joomla, which is usually available on the homepage.
Prepare Your Hosting Environment
1. Ensure you have access to a web hosting account that supports PHP and MySQL which are Joomla required. Most hosting providers offer one-click Joomla installations, but you can also install it manually.
Upload Joomla Files
Depend of hosting you have there are different ways to upload Joomla CMS files to your hosting.
3.1 Upload Joomla Files with "cPanel File Manager" or other "File Manager" which your hosting provide
1. If you have a hosting provider with cPanel or a similar control panel, log in to your hosting account.
2. Find the "File Manager" section, and access your website's root directory (usually "public_html" or "www").
3. Upload the Joomla ZIP file you downloaded to this directory.
4. Extract the contents of the ZIP file using the control panel's file manager.
OR
3.2 Upload Joomla Files with FTP
1. Extract the contents of the ZIP file (the Joomla ZIP file you downloaded in Step 1) to the any local folder on your PC.
2. Login to your hosting account with help FTP. You may use FileZilla or other FTP client
3. Access your website's root directory (usually "public_html" or "www").
4. Upload the extracted files to the directory.
Create a MySQL Database
There we have a few methods to create a Joomla MySQL Database. Check more details in this article.
Start Joomla Installation
1. Open a web browser and navigate to your website's domain name (e.g., http://yourdomain.com).
2. You will see the Joomla installation page. Choose your preferred language and click "Next."
Main Configuration
1. On the Main Configuration page, enter your site's name, description, username and your administrator email and password.
2. Make note of the administrator username and password; you will need these to log in to the Joomla admin panel later.
3. Click "Next."

Database Configuration
1. On the Database page, enter the requested information.
- - Database Type: Select "MySQLi."
- - Hostname: Enter the MySQL server name provided by your hosting provider (usually "localhost").
- - Username: Enter the MySQL database username.
- - Password: Enter the MySQL database password.
- - Database Name: Enter the name of the database you created earlier.
- - Table Prefix: Optionally, you can set a table prefix for security purposes.
Important: If you have ROOT login and password to My SQL server, you may set the MySql Root User name and Password for "DataBase UserName" and "DataBase Password" and Joomla will create that DataBase for you. BUT, this is important: It works better for local developers, not for real websites. If your website will be hacked - they will know your root database access to all your website on that hosting.
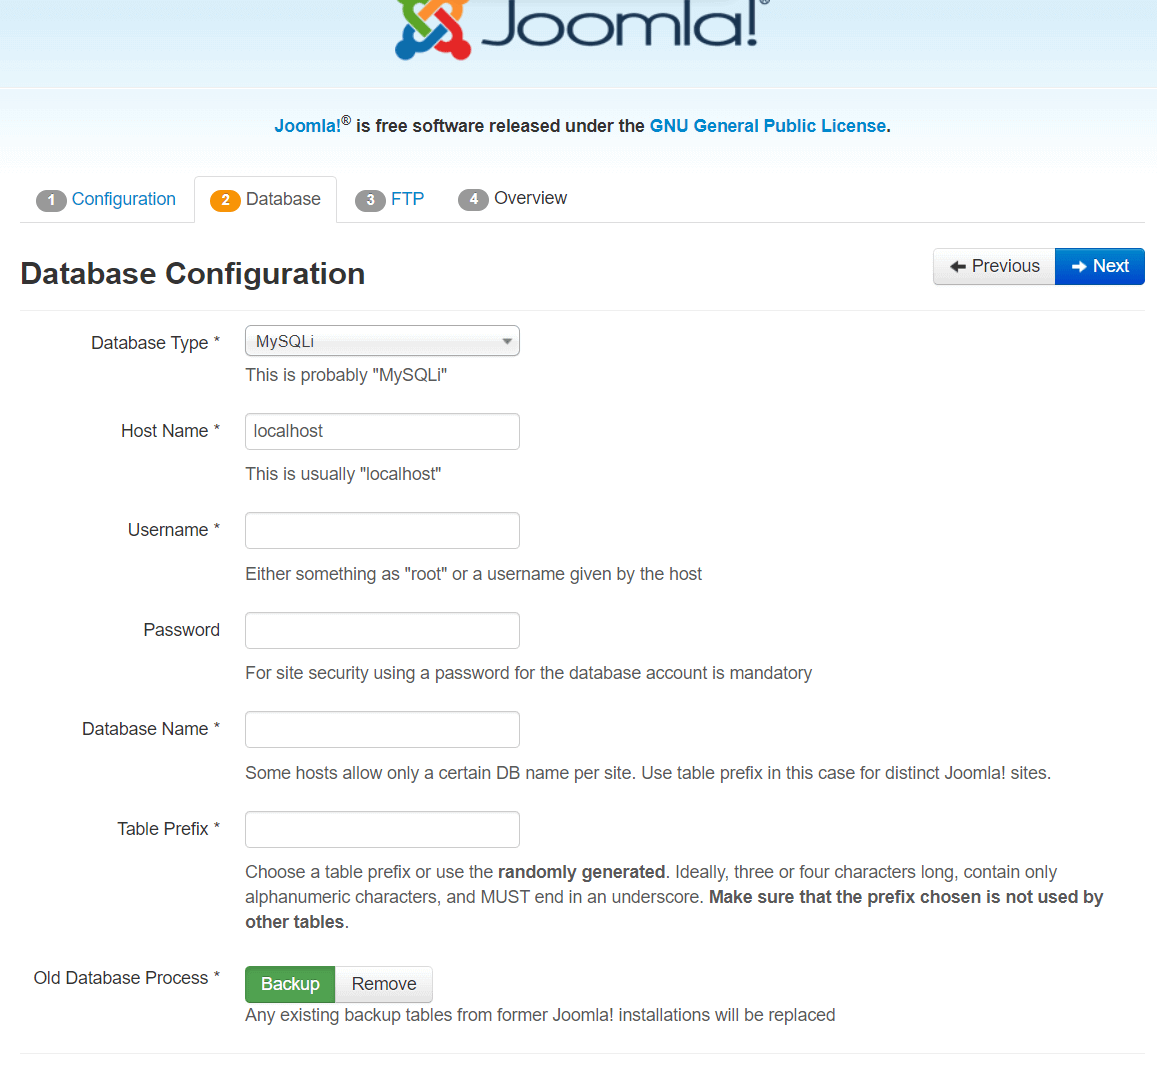
2. Click "Next" to proceed.
Remove Installation Folder
1. Joomla will remind you to remove the "installation" folder for security reasons. Joomla will try do that but if there some error happened. You can do this using your hosting control panel's file manager or an FTP client.
2. After removing the installation folder, click "Next."
Joomla is Installed
1. Congratulations! Joomla is now installed on your server.
2. You can access your Joomla website by visiting your domain name (e.g., https://yourdomain.com).
3. To access the administrator panel, go to https://yourdomain.com/administrator and log in using the administrator username and password you set in Step 7.
That's it! You've successfully installed Joomla. You can now start customizing your website, adding content, and exploring features and extensions available in Joomla's admin panel.
Thank you!
Will be posted after admin approval.